Managing Workflows
Create a workflow
Inside the workflows section you can create new customizable workflows.
Once you are at the workflow page, click on the create button on the header. You will be redirected to the Designer page in order to create your workflow.
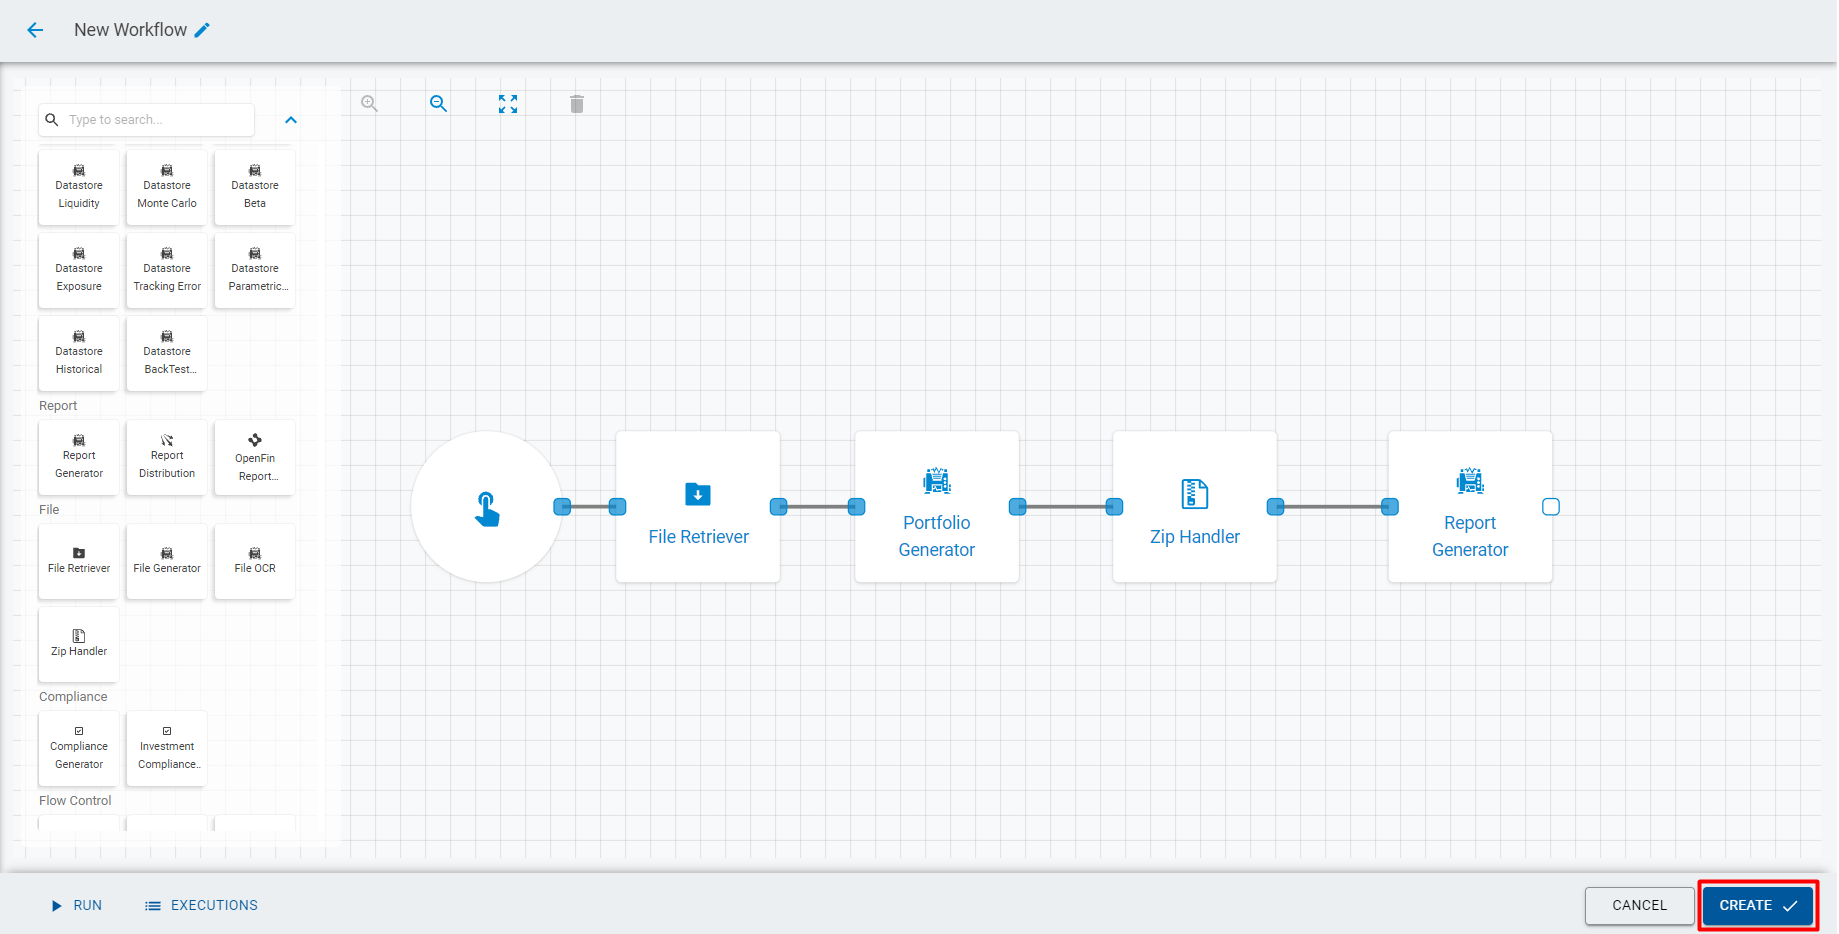
Notice that next to the title there's a editing icon. By clicking on this icon a new section will pop up on the screen allowing you to edit the workflow's basic information.
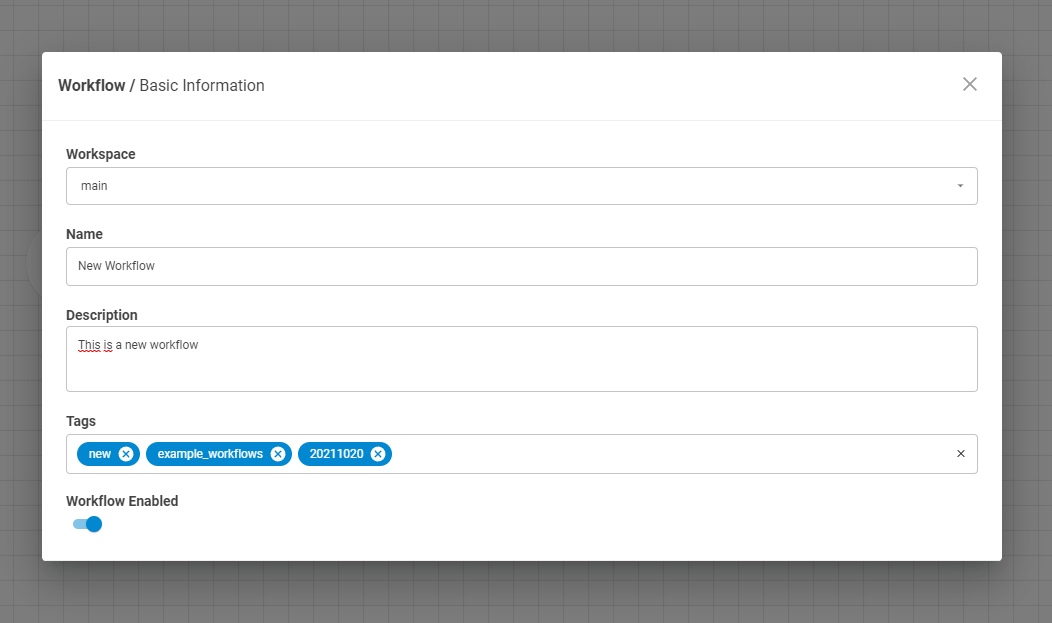
Here you can edit the workflow's basic information, such as: Workspace, Name, Description, Tags and a toggle button that enables the workflow
Workspaces is a directory system that allows you to save and restore entities (reports, datastores, files) in specific spaces to keep the information organized
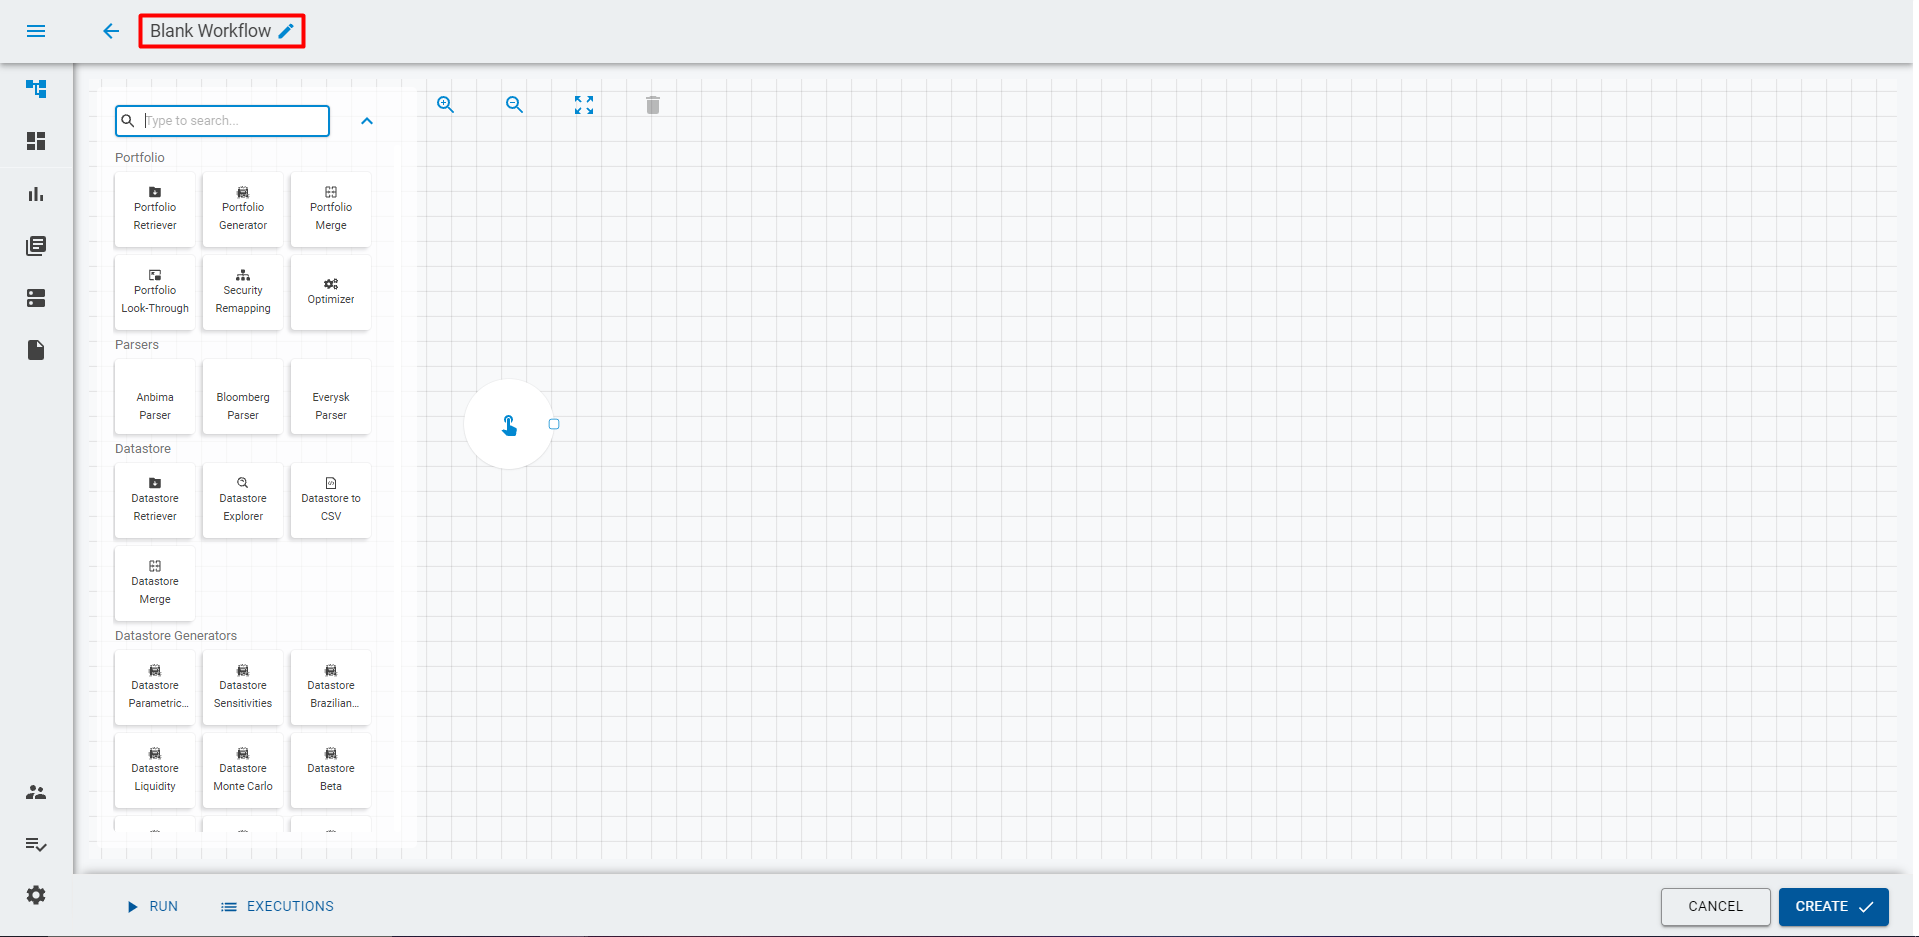
With the basic information properly set, you will notice that the workflow's name on the header has changed. You can now create the workflow by dragging and dropping some workers and connecting them. Now just click on the Createbutton at the bottom to create your workflow.
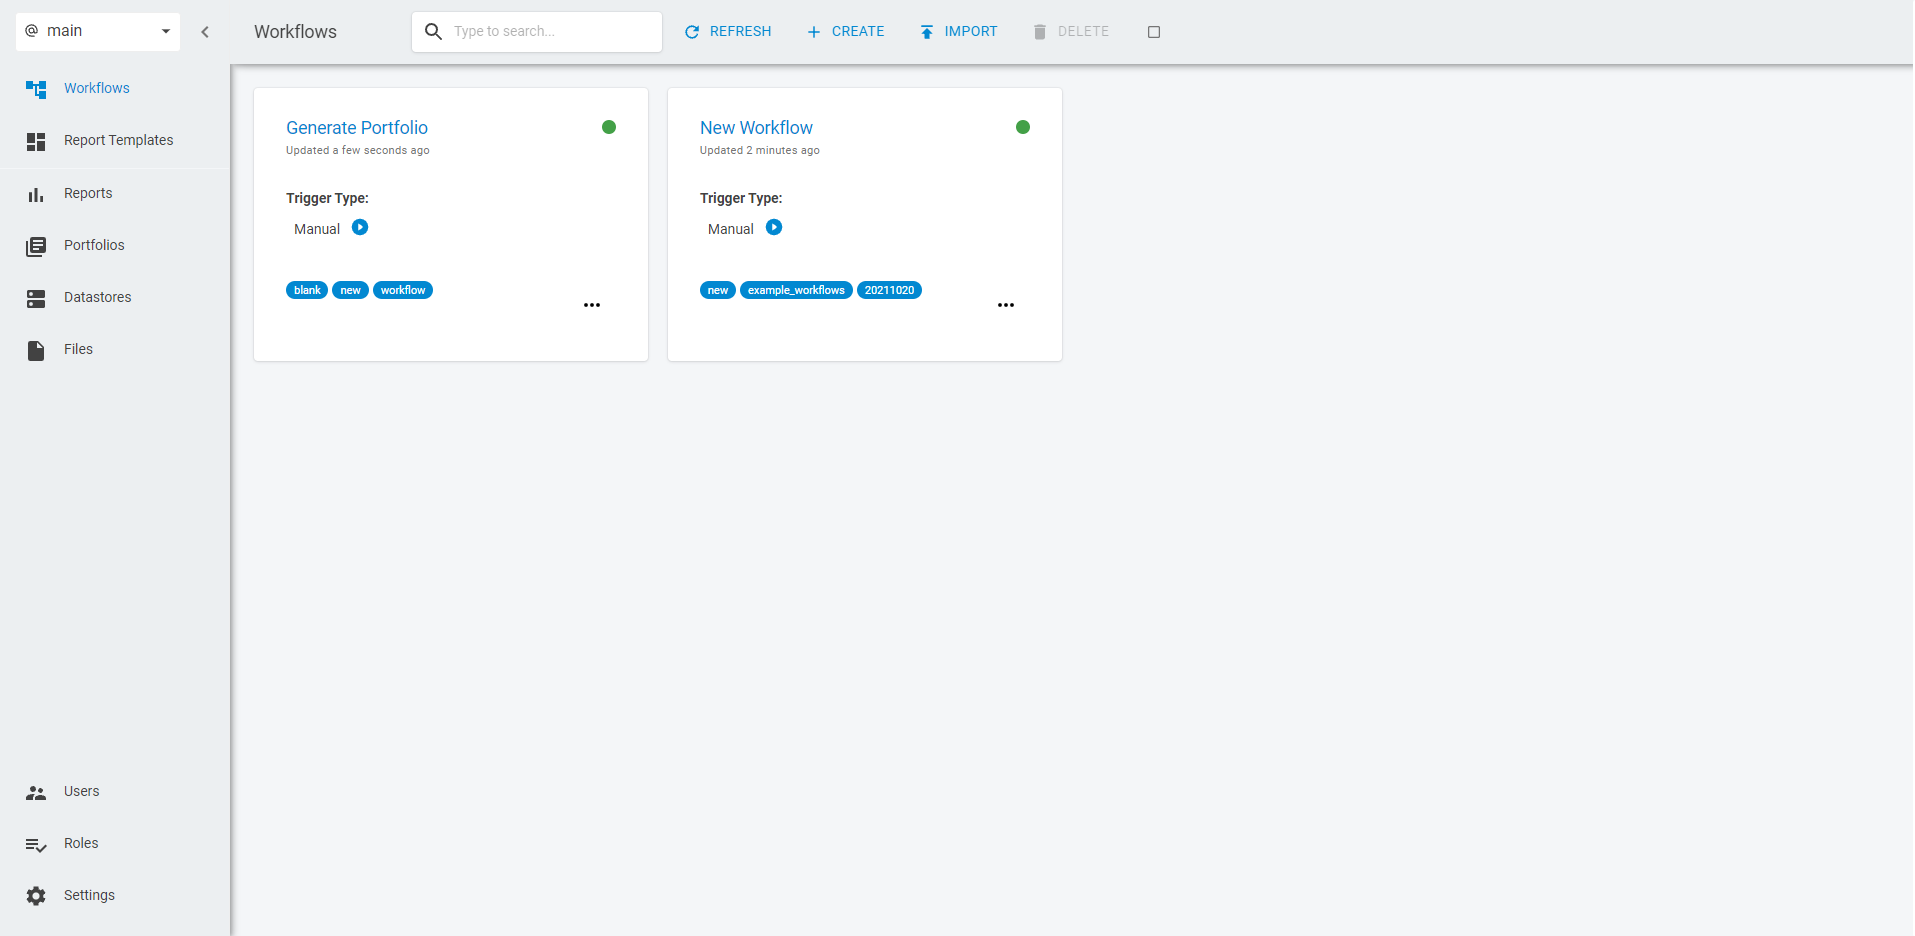
After these steps you will be able to see your new workflow card on the workflow's page.
Clone a workflow
Sometimes we have to create a new workflow that is very similar to one we already have on the workspace. Instead of creating a new one from scratch you can clone an existing workflow. To do so, click on the options button on the workflow and select the Clone option.
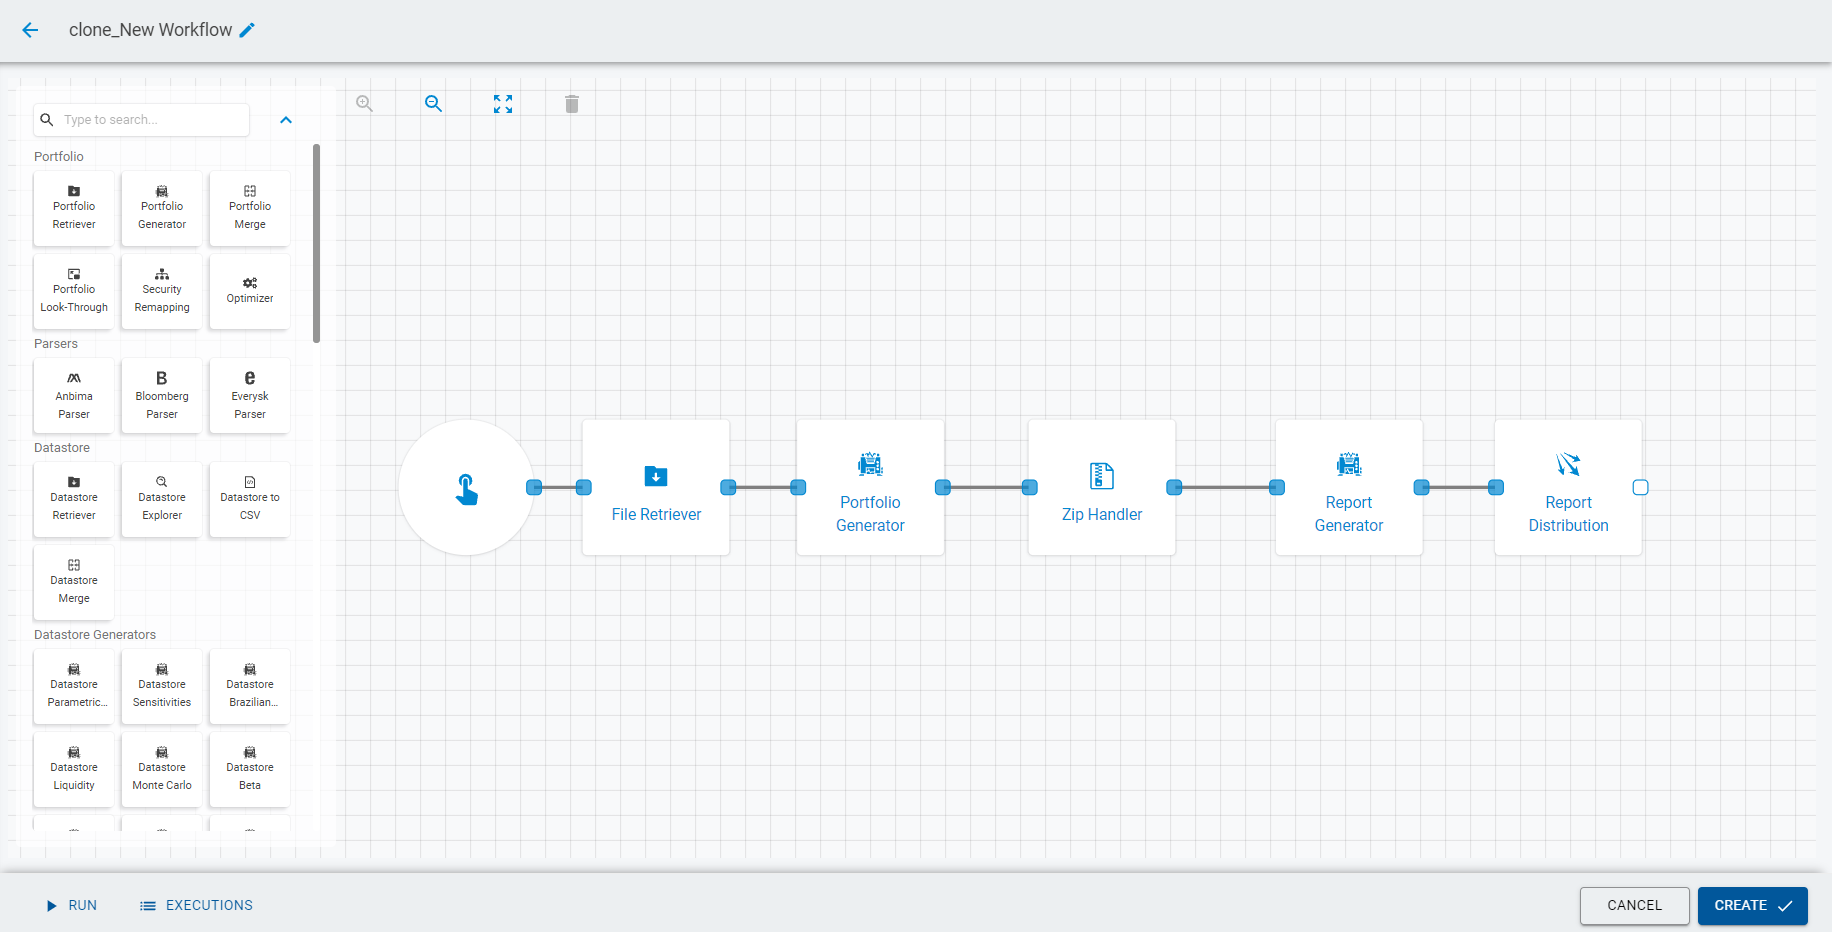
When cloning a workflow, you will be redirected to the Designer page. Notice that this new workflow will have the word "clone_" preceding the original workflow's name. You can edit the workflow basic information the same way you would do when creating a workflow from scratch. Then, after changing what you need inside the workflow just click on Create and your workflow will be ready to run.
Export a workflow
You can export your workflows in order to create backups on your computer or to send them to another user. To do so, click on the options button on the workflow card (3 dots at the bottom right corner) an select the Exportbutton.
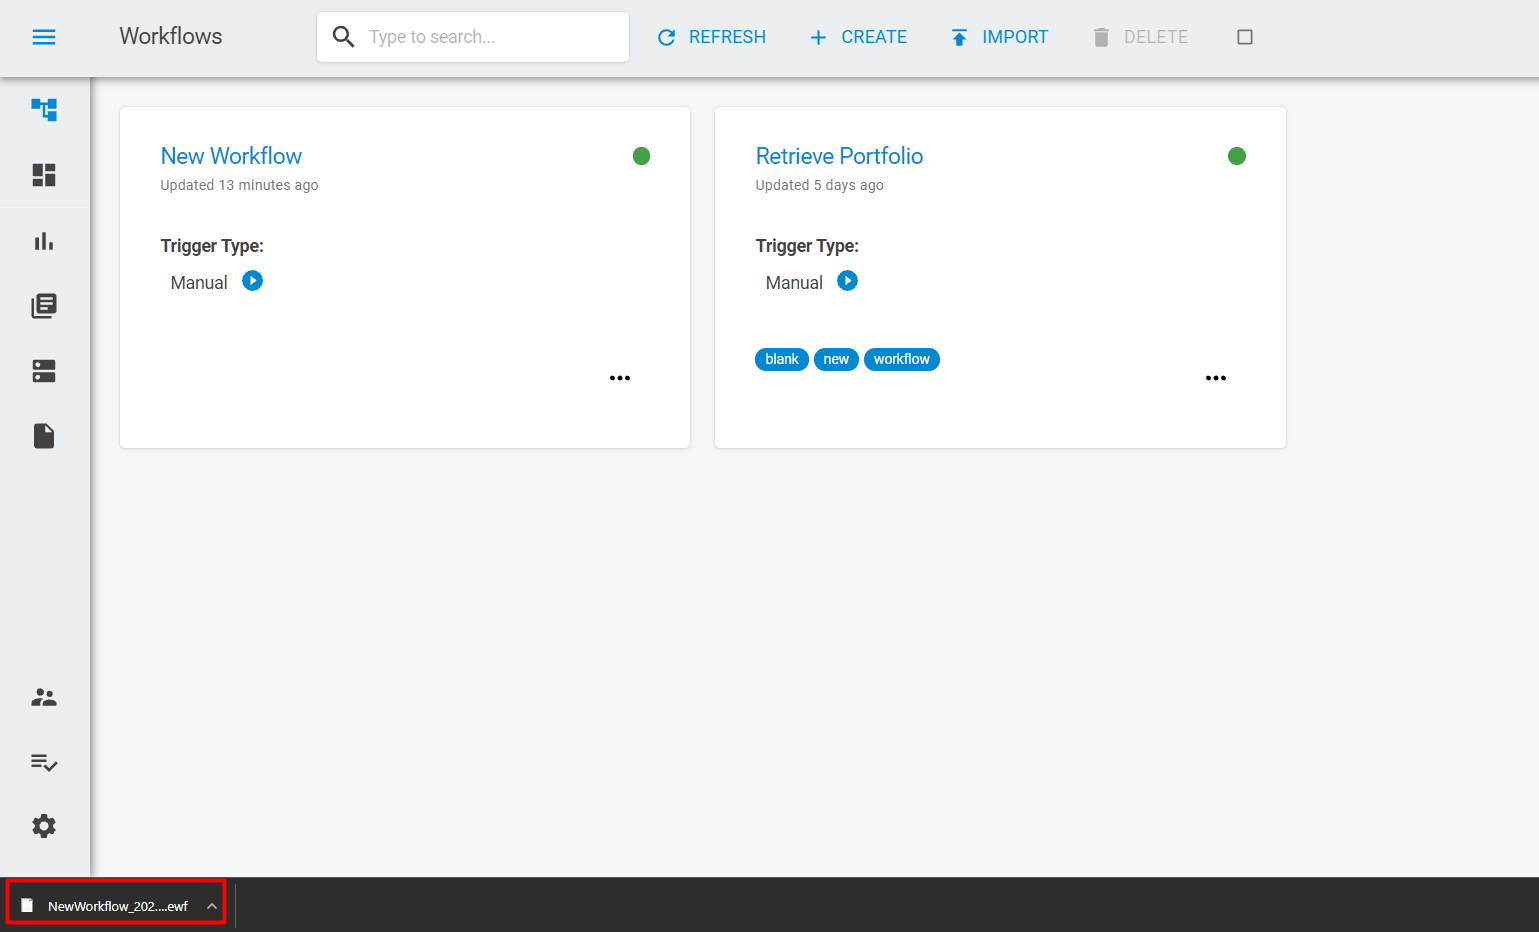
A section will pop up on the screen and you will be asked to provide your password. Once the password is provided, click in the Download Source button.
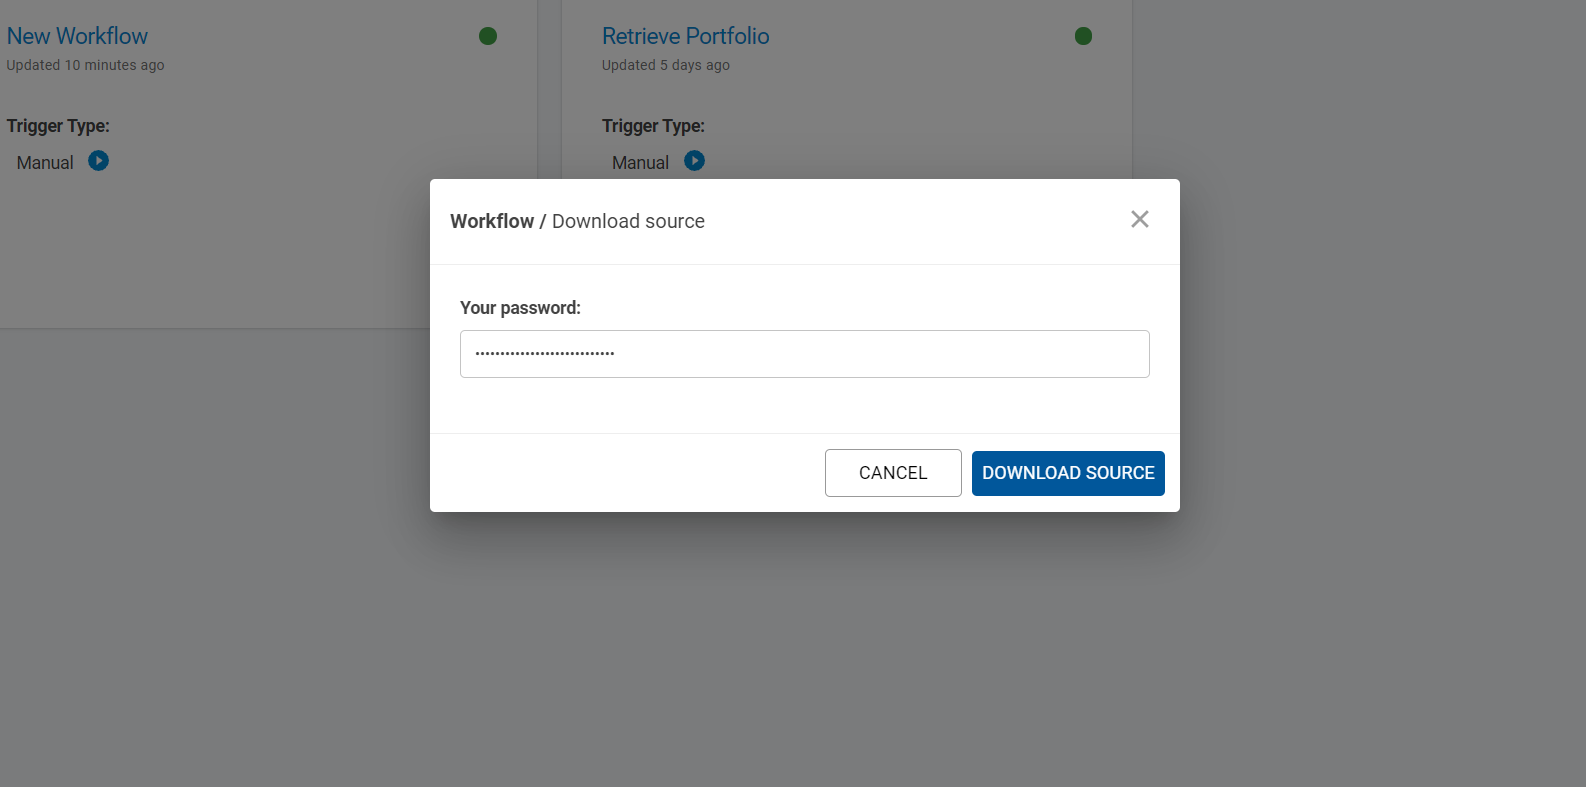
The workflow will be downloaded to your computer.
Delete a workflow
To delete a workflow click on the options button on the workflow card and select the Deleteoption.
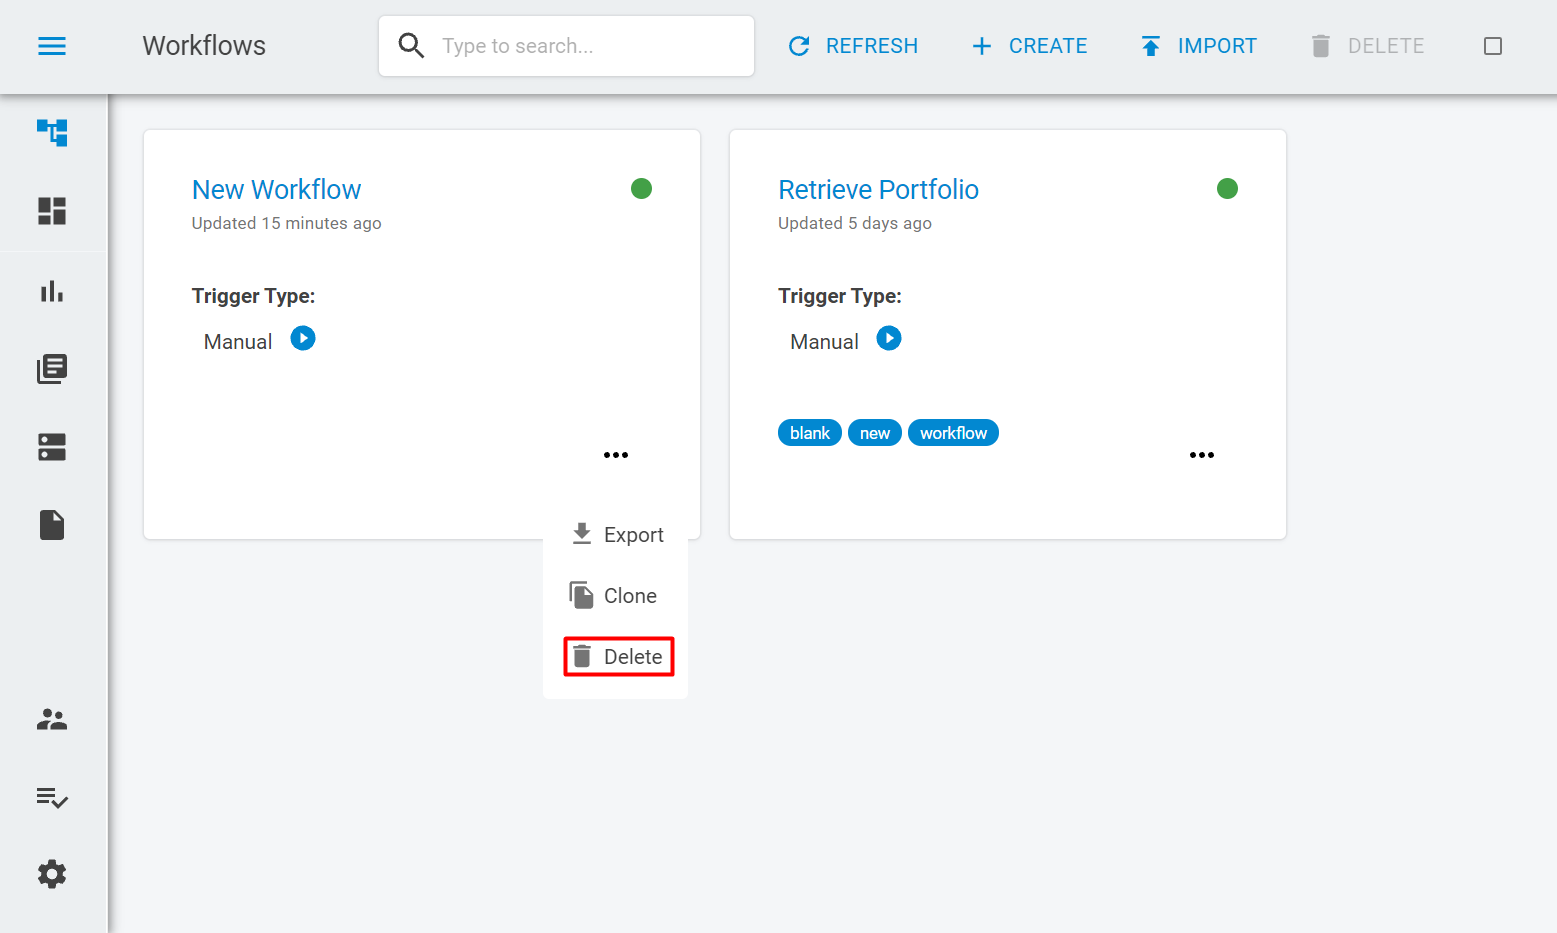
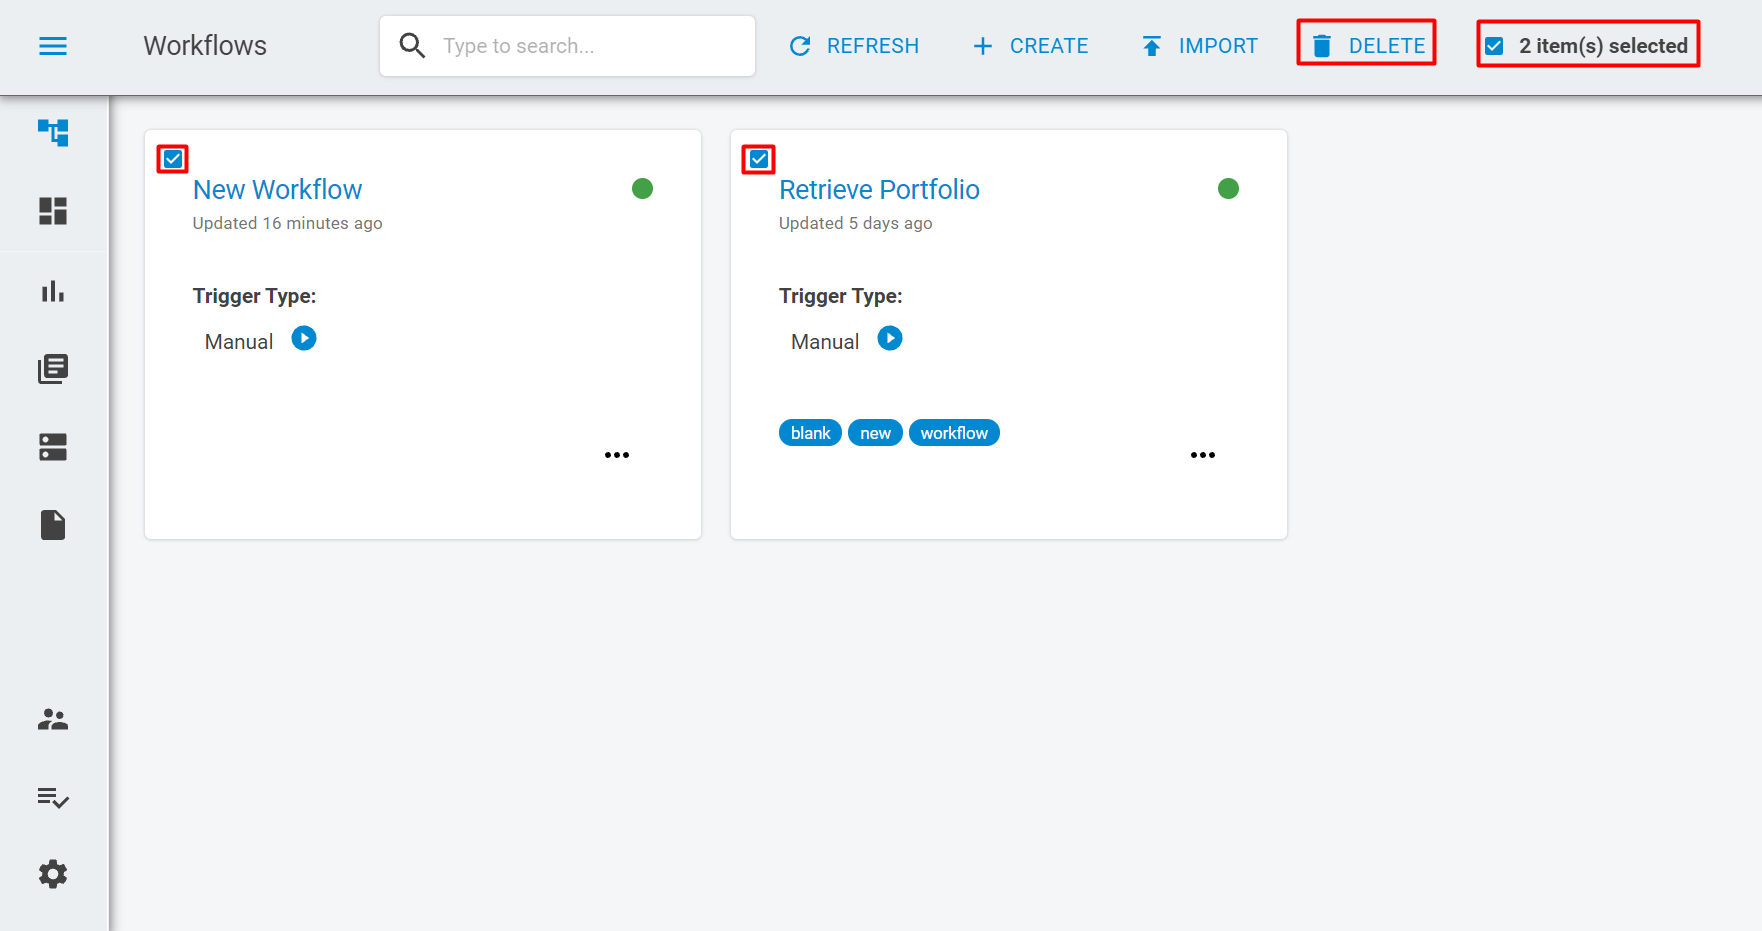
If you want to delete all workflows inside a workspace you can select the checkbox at the header and all workflows will be selected. You can also unselect some specific workflows in order to retain them on the workspace. Then, just click on the Deletebutton on the header.